This will be about Google, but please remember this is my personal blog so nothing here is the official word of my employer. It’s all mine.
Today we released a fun video on the Webmaster Central YouTube channel that shows what goes into producing a video for the channel:
Going a bit beyond what’s covered in the video, here’s the basic process:
- Matt is lured into the room using the scent of Pinkberry yogurt.
- We record the video.
- I transfer the video to a Macintosh Quadra 840AV and edit.
- After editing is complete, I copy the final video file to a set of floppy disks. That’s right, disks. Plural. Since we shoot in HD, the files are so large that a single video often spans multiple 1.44 MB double-density disks.
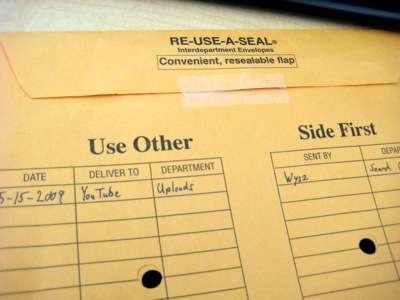
- The disks are uploaded to the YouTube office in San Bruno via data packets. One is pictured below:

Just kidding. 😉
The message I wanted to convey when Matt put me on video was that our setup isn’t really something that’s limited to a large company with a big media budget and staff. We’re using mostly “prosumer” level stuff, and you could get similar results by purchasing equipment today at even lower prices. Any standard video camera should be fine to get you started, and even a camera built in to your computer can work, depending on what the content of your video is. HD is a bonus, and well under the “thousand dollar range” I guessed in the video. But the most important thing isn’t which camera you buy, it’s how you use it. So rather than getting into the specifics of the equipment, I’m going to go over a few things you can do to set your video apart from the other 20 hours of video uploaded each minute to YouTube.
Get decent audio. I’m putting this first because it’s often overlooked by the producer, and is incredibly annoying to the audience if it’s bad. If you can get a microphone, that’s great. If you have to use the camera’s built-in mic, make sure the room is free of background noise (air conditioners, refrigerators, crowds, etc.), and have the talent speak loudly and clearly as if presenting to a large group. If your camera has a headphone jack, plug in some headphones and listen to the sound as you record.
Use a tripod, and don’t zoom. If you need to get a closeup of something, try cutting to a closeup instead of making the user watch a zoom. It’s much easier to get a nice image when the frame doesn’t move. If you’re unsure about how to compose your shots, start by looking up the “rule of thirds.”
Make sure the subject is well-lit. We actually don’t have any video lights in our rig at this point, and conference rooms tend to have pretty ugly lighting when it comes to video. So whenever possible, I try to pick a room that gets natural sunlight, or even go outside (just watch your audio!). Sunlight looks a lot better than fluorescent. If you’re especially lucky, you can find a room with windows on two walls. Then, you can have one window light your subject, and use the other as a background without your subject turning into a silhouette. Whatever you do, make sure your video isn’t too dark. Video cameras do not do well in low light, and after compression the image may be even harder to see. If you do need extra artificial light but don’t have a pro rig, you can get any bright light and then diffuse it by bouncing it off of a white wall or ceiling. I did this with a workshop light from Home Depot in the reconsideration video and also in my cooking shows.
Use manual focus, especially if your autofocus is fidgety. A quick way to handle this on cameras without a focus ring is to zoom in on the subject’s eyes, let it auto-focus, and then switch to manual mode so it’s set on that focal length. When you zoom out, your subject will remain perfectly focused.
Upload using the correct aspect ratio. Don’t stretch or squash your videos from their native dimensions. If it looks funky after you upload, try one of the tags listed in this YouTube blog post.
If you’re using Final Cut and are mixing in images, leave everything in its native format in the timeline, then export directly from the timeline to your final file. Your screenshots will be super-crisp if you don’t export them to a movie file (in a format like DV or HDV) first before compressing. If you do any kind of scaling of the images and your sequence is set to an interlaced video format, set the field dominance to “none” in the sequence settings.
PANTS!!!
@Reid, Yeah, I didn’t know I was going to be on camera until Matt walked in with his Flip. Makes it more real though. 🙂
Fun post, and great work on the Webmaster Central Youtube channel BTW, did you get the data packet that I sent you?